What’s in a User Story?

stickies

As I started out in Agile software development, as a lowly intern, I was bombarded by jargon. Terms like ‘scrum’, ‘sprint’, ‘velocity’, and ‘TCC’ came flying at me right from the get-go. With hardly time to create a mental dictionary of these new terms, I found myself in meetings with product owners, a senior developer, and QA person, all talking about how to implement the current ‘user story’. Having little to no background, I more or less mentally checked out until the meeting was over and we had a list of things that actually needed to be done; which meant I could now go and do what I knew, write some code.

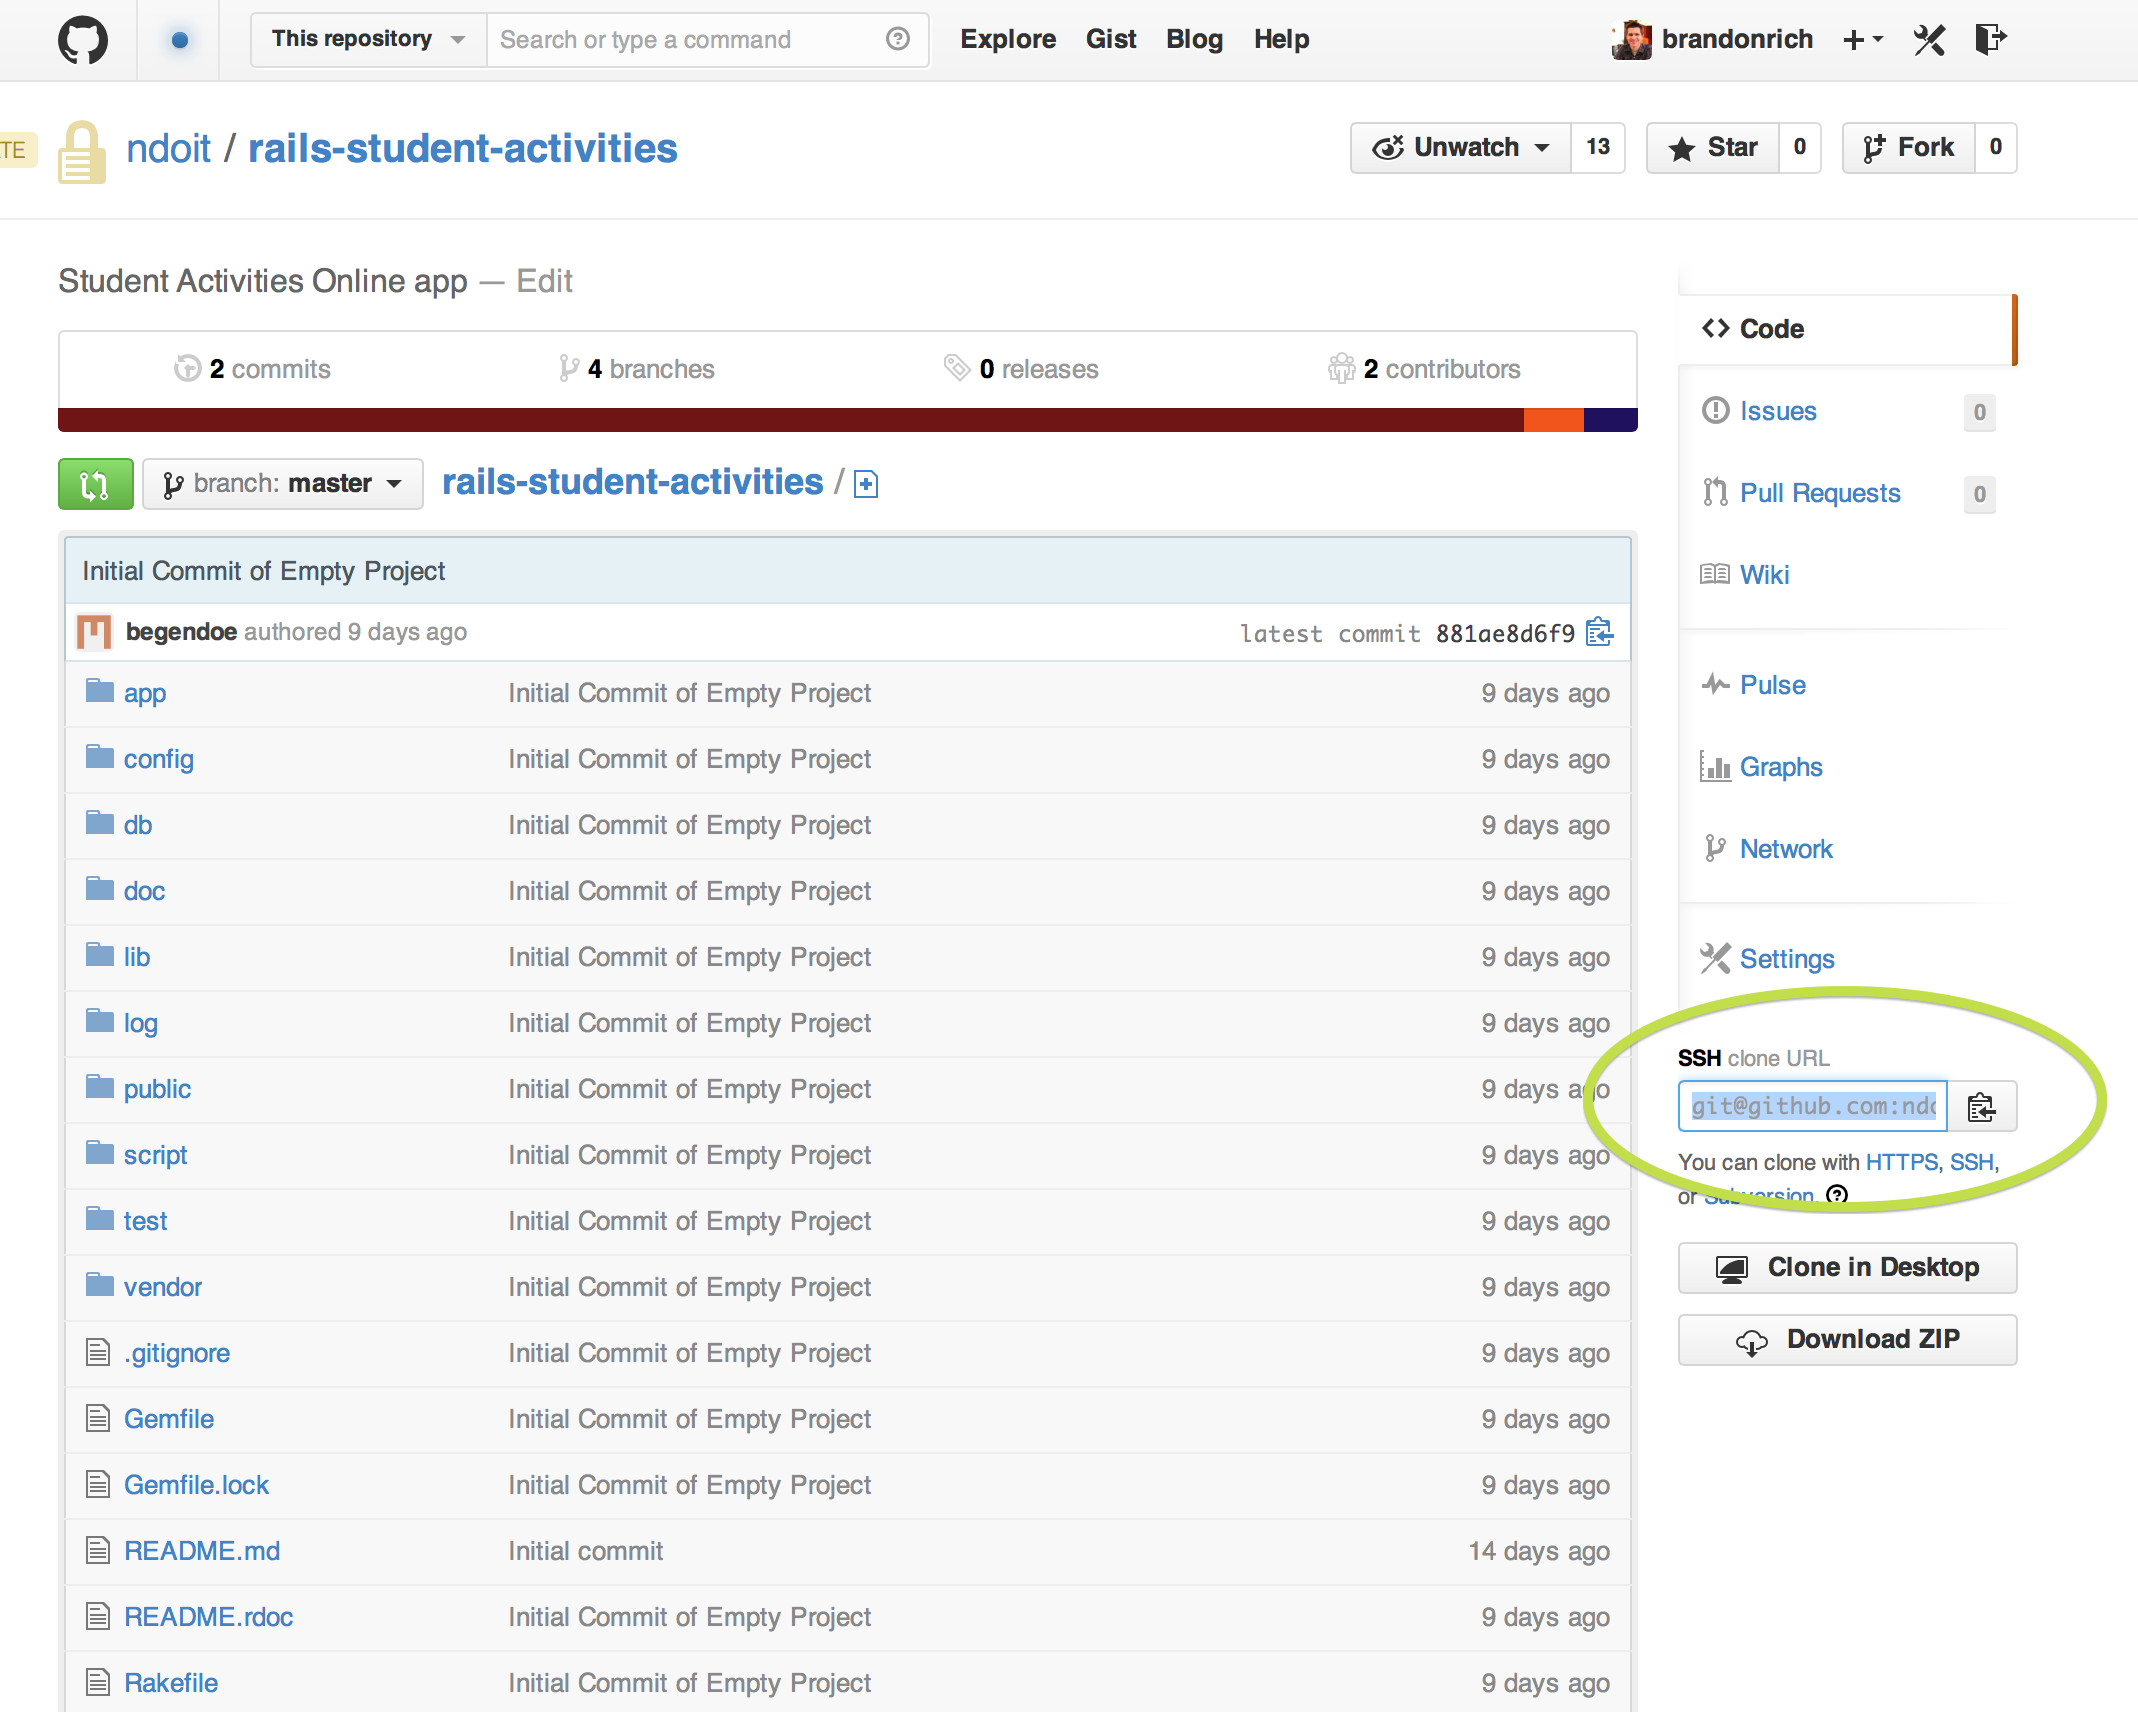
Being the intern, I never had much insight into where these magical statements of desired functionality came from. All I knew is that when I was done with my current work, another developer and myself would pull the next user story from backlog into TCC, and schedule a meeting like the one above. I didn’t give any thought as to how these nuggets of work came about; I only viewed  each as the next problem to tackle. And I will admit that I was quite happy in my ignorance. Work was full of doing the thing that I enjoyed, without much distraction.

Skip ahead a few years, and I now find myself on the other side of that coin. Often my days are filled with meetings, attempting to discern what it is a customer really needs; as apposed to what they think they need. This can be a very difficult time for anyone who is very technical in nature as functional users are not very specific in what they need. I mean, why can’t they just tell me how much remote file storage they need? or exactly what firewall rules they need put into place? It’s their application after all, they should know how to make it work! And really I just want to get to coding as soon as possible.

Unfortunately the world is not as such, and we need a way to capture what a customer WANTS not what they NEED. And this is where the user story comes in. User stories are a great way to capture the function that the customer is needing to perform. For example: “As a user I need a place to store uploaded pictures to include in reports later”. Sounds simple, has a straight forward objective, and is easily understood by everyone involved. It does not give any indications as to where to put the pictures, what format the pictures will be stored in, or how many a single person may be able to store. These are all details to be sorted out before implementation. Because we aren’t bogged down at every step by all the details, the project team can spend their time figuring out what they want their program to do. Which is great, because who really knows how an entire system is going to be implemented until you get in and start making it anyway?

The important thing about a user story is to capture WHAT the user needs to do, and WHY they need to do it. During the TCC these two parts serve as the focus for implementation, and getting them down in a clear form makes things much easier going forward. I’ve included links to some other resources below; which elaborate on this topic. Thank you for reading, and happy requirements gathering!

Agile Atlas | User Stories

User Stories and User Story Examples by Mike Cohn

Project Advantages of User Stories as Requirements

Recent CITS Tech Session Material

A while back, Scott Kirner handed responsibility for the CITS (nee ES) Tech Sessions to me.  With all the technology changes happening in OIT right now, there are plenty of exciting topics to learn and discuss.  So far in 2014, we have had presentations on the following:

  1. Responsive Web Design
  2. Provisioning a Rails development environment with Vagrant
  3. Git / GitHub basics (thanks Peter Wells!)

Having been justly called out for not providing access to my presentation material, I will now play catch-up and share some slides!  Be aware that these decks only provide partial information; each meeting had a significant live demo component.  They probably need some tweaking and they definitely need context.  For my part, I have planned for weeks to write detailed blog posts on each topic (especially the second one, as I had hardly any time to discuss capistrano).  I seem to be writing a lot today, so maybe I’ll get to them soon.  It’s important to share this information broadly!

For now, try this: the CITS Tech Session resource folder.  Everything’s in there, but let me provide some details.

  1. Responsive Web Design slides
    1. Demo for this was pretty bare-bones.  I put it into GitHub.  Hopefully it makes some sense…
  2. Rails deployment in Vagrant
    1. the most underserved probably.  Lots of good info on vagrant, but not detailed enough on the puppet / capistrano part.
    2. Git repo for the vagrantfile that builds the rails/nginx/unicorn stack (+ oracle client)
    3. Git repo for the main manifest
      1. The modules used by this manifest are all downloaded in the shell provisioner of that vagrantfile, so you can see them there.  They’re all in  NDOIT public repos.
    4. Git repo for the CAS Rails test app — authenticates a user to CAS from the root page, then displays some CAS metadata.
    5. The Vagrantfile used to actually download and deploy that app automatically, but I have removed that step.
    6. This probably deserves three different blogs posts
    7. The puppet modules and CAS test app are extended from code started by Peter Wells!
  3. Rails deployment — not a CITS tech session, but it describes a progression on the work from #2, above.  I demoed a remote deployment to a totally fresh machine with  a “deploy” user and and /apps directory — much like we might do in production.
    1. This presentation was aimed at Ops staff, so I get into the stack a bit more.
    2. I also created an “autodeploy” script to wrap capistrano, to try to show one way in which our current RFC process could accommodate such deployment mechanisms.  I hope for something even more flexible in the future.

No slides from today, but my last two blog posts will provide some information about the GitHub part.  If you want to learn Git, the official site has some great documentation.  Here are Git Basics and Basic Branching and Merging.  Git’s easy branching is one of the most interesting and exciting parts of working with Git, and will be the foundation for multi-developer coding in the future.

As I have mentioned elsewhere, I know not everyone can make each session.  Blog posts will certainly help make the content accessible, but in addition, I am 100% open to doing recap sessions if there are enough people who want it!  Heck, I’ll even sit down with you one-on-one.  So please reach out to me.  The more we can share our combined knowledge, the better developers we’ll be.

Using SSH with GitHub for Fun and Profit

Please see my previous post about joining the NDOIT GitHub Organization.

You can easily clone a git repository using the https URL that appears in your browser when you visit it on GitHub.  However, you can also use an SSH key pair.  It takes a little setup, but you will want to do this for two reasons:

  1. It’s required to use git from the command line after enabling two-factor security
  2. It’s necessary for ssh agent forwarding, which lets you…
    1. use the remote deployment scripts I am developing in capistrano
    2. use ssh with github on vagrant (or any other machine you ssh to) without redoing these steps

So here’s what you want to do:

STEP 1: Follow the instructions on this blog to generate an SSH key  pair and register its public key with your GitHub account.  Note the platform selection tabs at the top of that page, and please be aware that these instructions work for Mac and Linux, but GitHub encourages Windows users to use the Windows native GUI app.

However, I am not recommending anyone proceed with Rails development on Github using Windows.  Many of you have seen the demos I’ve given on developing in Vagrant, and we’ve got Student Team developers building their new app on Linux VMs.  We want to develop as Unix natives!  I am happy to personally assist anyone who needs help making this transition.

STEP 2: Set up two-factor authentication on your GitHub account.  The easiest way to do this is to set up your smartphone with the Google Authenticator app, which will act as a keyfob for getting into GitHub.

STEP 3: Use SSH on the command line.  There are two ways to do this:

  1. Use the SSH URL when you first do your git clone
    1. Find the SSH URL as shown below, circled in green.
    2. do git clone SSH_URL and get on with your life.  You’ll never need the Google Authenticator.
    3. Screen Shot 2014-02-21 at 11.13.55 AM
  2. Modify your existing git checkout directory to use SSH
    1. Check your remotes by typing git remote -v
    2. You’ll see something like this:
      1. origin https://github.com/ndoit/muninn (fetch)
        origin https://github.com/ndoit/muninn (push)
    3. That means you have a remote site called “origin” which represents github.  This is the remote URL you use for push/pull.  We need to change it to use SSH!
    4. That’s easy.  Have the SSH URL handy as shown above.
    5. git remote -h   tells you the help details, but here’s what we’ll do:
      1. git remote set-url origin SSH_URL
      2. Where SSH_URL is your ssh URL, of course.
    6. push/ pull as normal!

SSH Forwarding and Vagrant

Another vital result of enabling SSH is that you can now perform SSH Agent Forwarding.  What do that mean??  Imagine the following scenario:

  1. You create an SSH keypair for use with GitHub as shown above, on your laptop
  2. You launch a vagrant VM for Rails development
  3. You try to git clone via SSH
  4. FORBIDDEN!

The problem is that the SSH key you registered with GitHub is on your laptop, but the VM is a whole other machine.  Fortunately, we can use SSH agent forwarding to use your laptop’s keys on a remote machine.

In Vagrant, this is a one-liner in the Vagrantfile:  config.ssh.forward_agent = true

Or use -A when using ssh from the command line:  ssh user@someplace -A

Now your keys travel with you, and ssh git@github.com will result in a personal greeting, rather than “Permission denied.”

Conclusion

If you’re using GitHub, you need to do all of this.  I can help you.  When you’re done, you’ll be more secure and generally be more attractive to your friends and colleagues.  Plus, you’ll be able to do remote deployments, which is a very good topic for my next blog post. See you next time!

GitHub Organization: NDOIT

In advance of today’s CITS Tech Session on Git and Github, I wanted to make OIT readers aware that we have created a GitHub Organization.  GitHub organizations are like regular GitHub accounts, but you can assign individual GitHub users to it and manage their privileges on repos in the org.  Ours is named NDOIT, an you can find it at https://github.com/ndoit. Many thanks to Chris Frederick for pushing to get this set up, and for Scott Kirner and Todd Hill for finding the funding!  Here are a few important points:

  • How to join this organization
    • If you don’t already have one, create your own github account. For this purpose, my recommendation is to create an account under your nd.edu email address.
    • Provide that account name to Chris or me, and we can add you.
  • How to use the org
    • Look for this drop-down to appear on the left-hand side of your main github landing page after you log in:
    • Screen Shot 2014-02-04 at 10.44.44 AM
    • Change the “account context” to NDOIT, and you’ll see all our shared repos.
  • Public vs private
    • GitHub’s philosophy and pricing model both favor public, open-source repositories.  As such, we have a very limited number of private repos.
    • Because private repositories are scarce, please do not create any without first getting approval.  We have not yet defined a formal process for this, so please talk to me (Brandon Rich).  New Rails apps will get preference in this respect.
  • What sorts of things can be public?
    • Here is another area where I’m afraid the formal process is not nailed down.  Please discuss with me if you think you have a repo that can be public.  As long as there is nothing private or confidential, we can probably make it work.
    • Examples thus far have been puppet repos, rails demo apps, and the BI portal, which went through the Technology Transfer office.
  • What about SVN?
    • SVN is still an appropriate tool for many things:
      • Anything sensitive / non-public that will not go into a private github repo
      • Anything that uses autodeploy

That’s it for this topic.  Please see the follow-up, Using SSH with GitHub for Fun and Profit.