
This tutorial is for those of you who want to learn some basic programming in Python for the digital humanities, but also for those who have never programmed or may become filled with terror at the sight of a single line of code (trust me, I know the feeling!). At the end of this guide, you should know how to perform optical character recognition (OCR) to make a pdf searchable. For this, we are going to use “ocrmypdf”, a Tesseract-based Python package with wonderful capabilities. Everything will be done online from your web browser, so don’t worry, you will not have to install anything on your computer!
I have tried to keep the tutorial very simple and straight to the point, at the cost of occasionally sacrificing some useful and important explanations about the code. For that, I profusely apologize to my colleagues in the department of computer science. Please, do not send the Spanish Inquisition.

Why Tesseract and ocrmypdf?
Some of you may be familiar with, or even regular users of the OCR function provided by Adobe Acrobat DC pro. The ctrl+f function is one of the simplest and most efficient tools to support analysis of text and research. Acrobat DC is a powerful and very easy to use software, but this comes at a price. First, Acrobat works only with a handful of common modern languages such as English, French, German or Japanese. Tesseract on the other hand can recognize characters from a broad variety of modern and classical languages, including, but not limited to, Armenian, Classical Arabic, Classical Greek, Syriac, and Old Georgian, to name only a few. Second, Tesseract is a free, and open-source software, presenting a more cost-efficient option compared to other expensive commercial options and I am sure many of you would rather settle for the free but equally powerful alternative.
First, go to https://colab.research.google.com/
This is a free Jupyter notebook that will save your data on your personal google drive. Just remember to hit the save button before closing the page.
Open a new notebook and sign up with a Gmail address. You will want to use your @nd.edu address but any personal google account will work too.
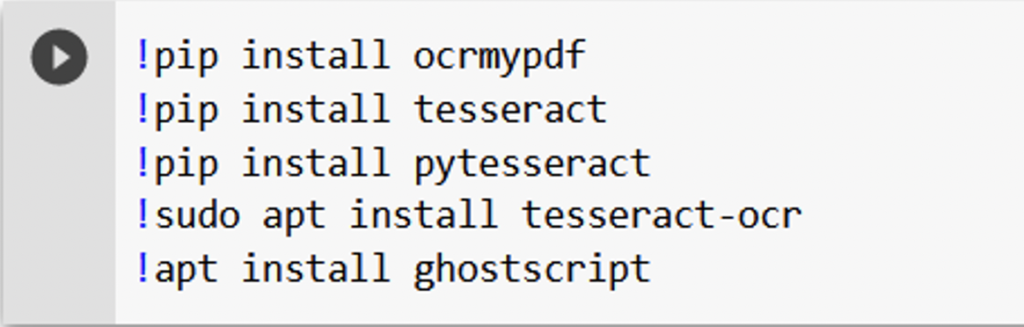
As a first step, we need to download ocrmypdf, and all its dependencies. To do so, simply type the following lines. The first will download the python package ocrmypdf, while the other lines will deal with the dependencies. For those of you new to coding, you will learn the first rule of coding: any errors in spelling, indentation and so forth can break your code. Be careful!
When the above lines have been written, run the cell by pressing ctrl+enter or press the button in the upper left corner. The download process should take around a minute. Once the download is complete, you should see a little green tick next to the upper left arrow.
Once the package and its dependencies have been downloaded, we will need to import “ocrmypdf” so that we can put it to work. Add a line of code to your colab sheet by clicking on + Code and write the following code:


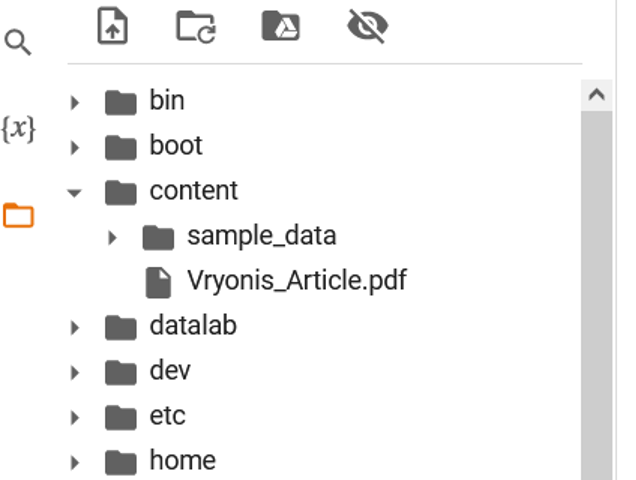
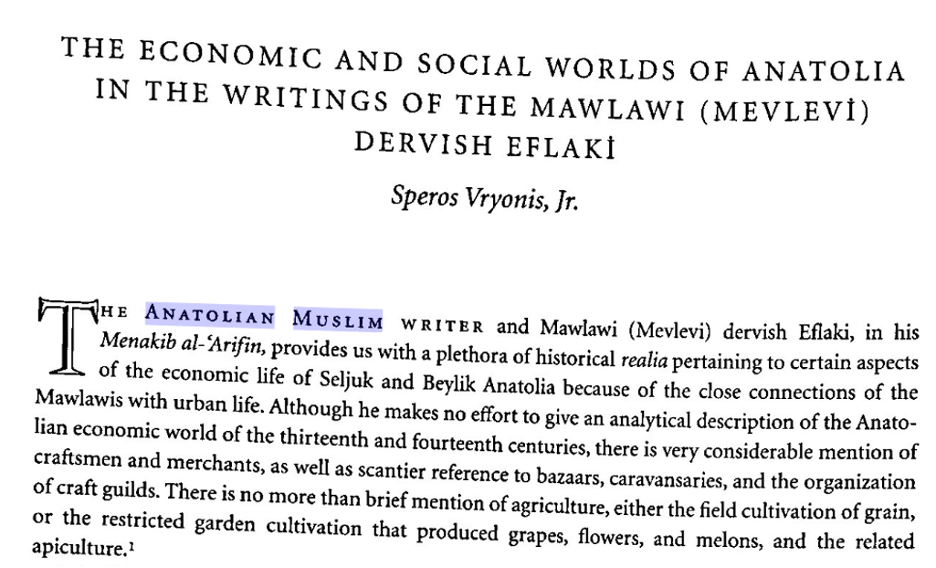
Next, add a copy of your scanned pdf to the “files/content” folder on the left side of your screen (or any other folder of your choice, you will just have to note its path somewhere). In our case, we are going to work with the first page of an article on the Mevlevi Sufi order published by the Byzantinist Speros Vryonis Junior.
In a new cell, enter the following lines of code (beware, the underscores are double underscores!).

Here, the name on the left should be that of the file you want to ocr (or its path if put in another folder), the one on the right should be that of the new, postprocessed file. The code uses the exact name of the file, ‘Vryonis_Article.pdf’. You can keep the exact same name if you want the new file to overwrite the original one. In my case, my code is directing ocrmypdf to create a new file: ‘Vryonis_Article_OCR.pdf’. Once generated, the post-processed article should appear in the same folder.
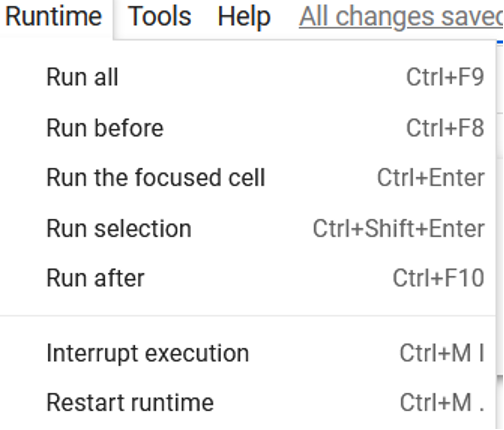
If you ever get an error, simply restart the runtime before running the cell again.
Et voila! You can now search your pdf with ctrl+F or copy and paste any sentence you want.
But this is not the most exciting part of this tutorial, and we may want to spice things up a little bit. Tesseract is very good at OCRing (yes, this is a verb, at least according to the WordSense dictionary) non-Latin scripts, but the process is a bit more involved. As an example, let’s take a page from the Masālik al-abṣār fī mamālik al-amṣār written in the 14th century by the Syrian polymath al-ʿUmarī.
For this, you need first to download the Arabic trained data at https://github.com/tesseract-ocr/tessdata/tree/main/script
Then move the downloaded file to the following folder /usr/share/tesseract-ocr/4.00/tessdata

The process is the same as before, simply change the language code to that of the language you just added, in our case “ara”. The various language codes can be found here: (https://tesseract-ocr.github.io/tessdoc/Data-Files-in-different-versions.html)
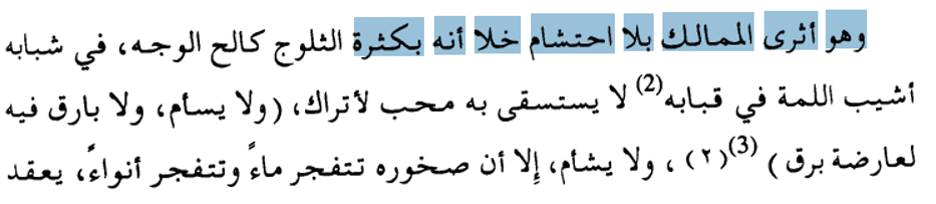
وهو أثرى الممالك بلا احتشام خلا أنه بكثرة
And here we are. Those who can read Arabic will notice that the result is extremely impressive. This, however, is a rather neat scan and Arabic is often difficult to properly OCR because of the cursive nature of the script. If the quality of your scan is poor, you may also be able to clean it with Python beforehand for a better result. I may develop this point further in another post.
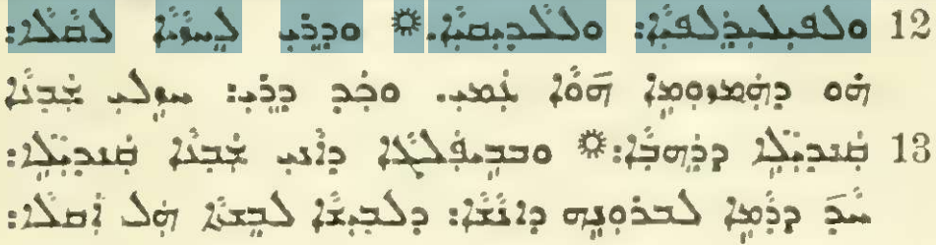
Beyond Arabic, Tesseract works very well with other non-cursive Semitic scripts, and you may get excellent results with Hebrew for example. Here is a last example from a Syriac Bible.

If you have any questions or comments about this guide, feel free to contact me.
Romain Thurin
PhD Candidate
Medieval Institute